Mastering Natural Light in Portrait Photography
Introduction
Every studio light is an attempt to imitate the sun. That is worth remembering the first time you stand in front of a window with nothing but a subject, a lens, and whatever the sky is doing that afternoon.
Natural light is free and infinitely variable, which is exactly what makes it difficult. You cannot dial it down or move it two feet to the left. You can only learn to read it well enough to know where to stand.
Read the Direction Before the Light
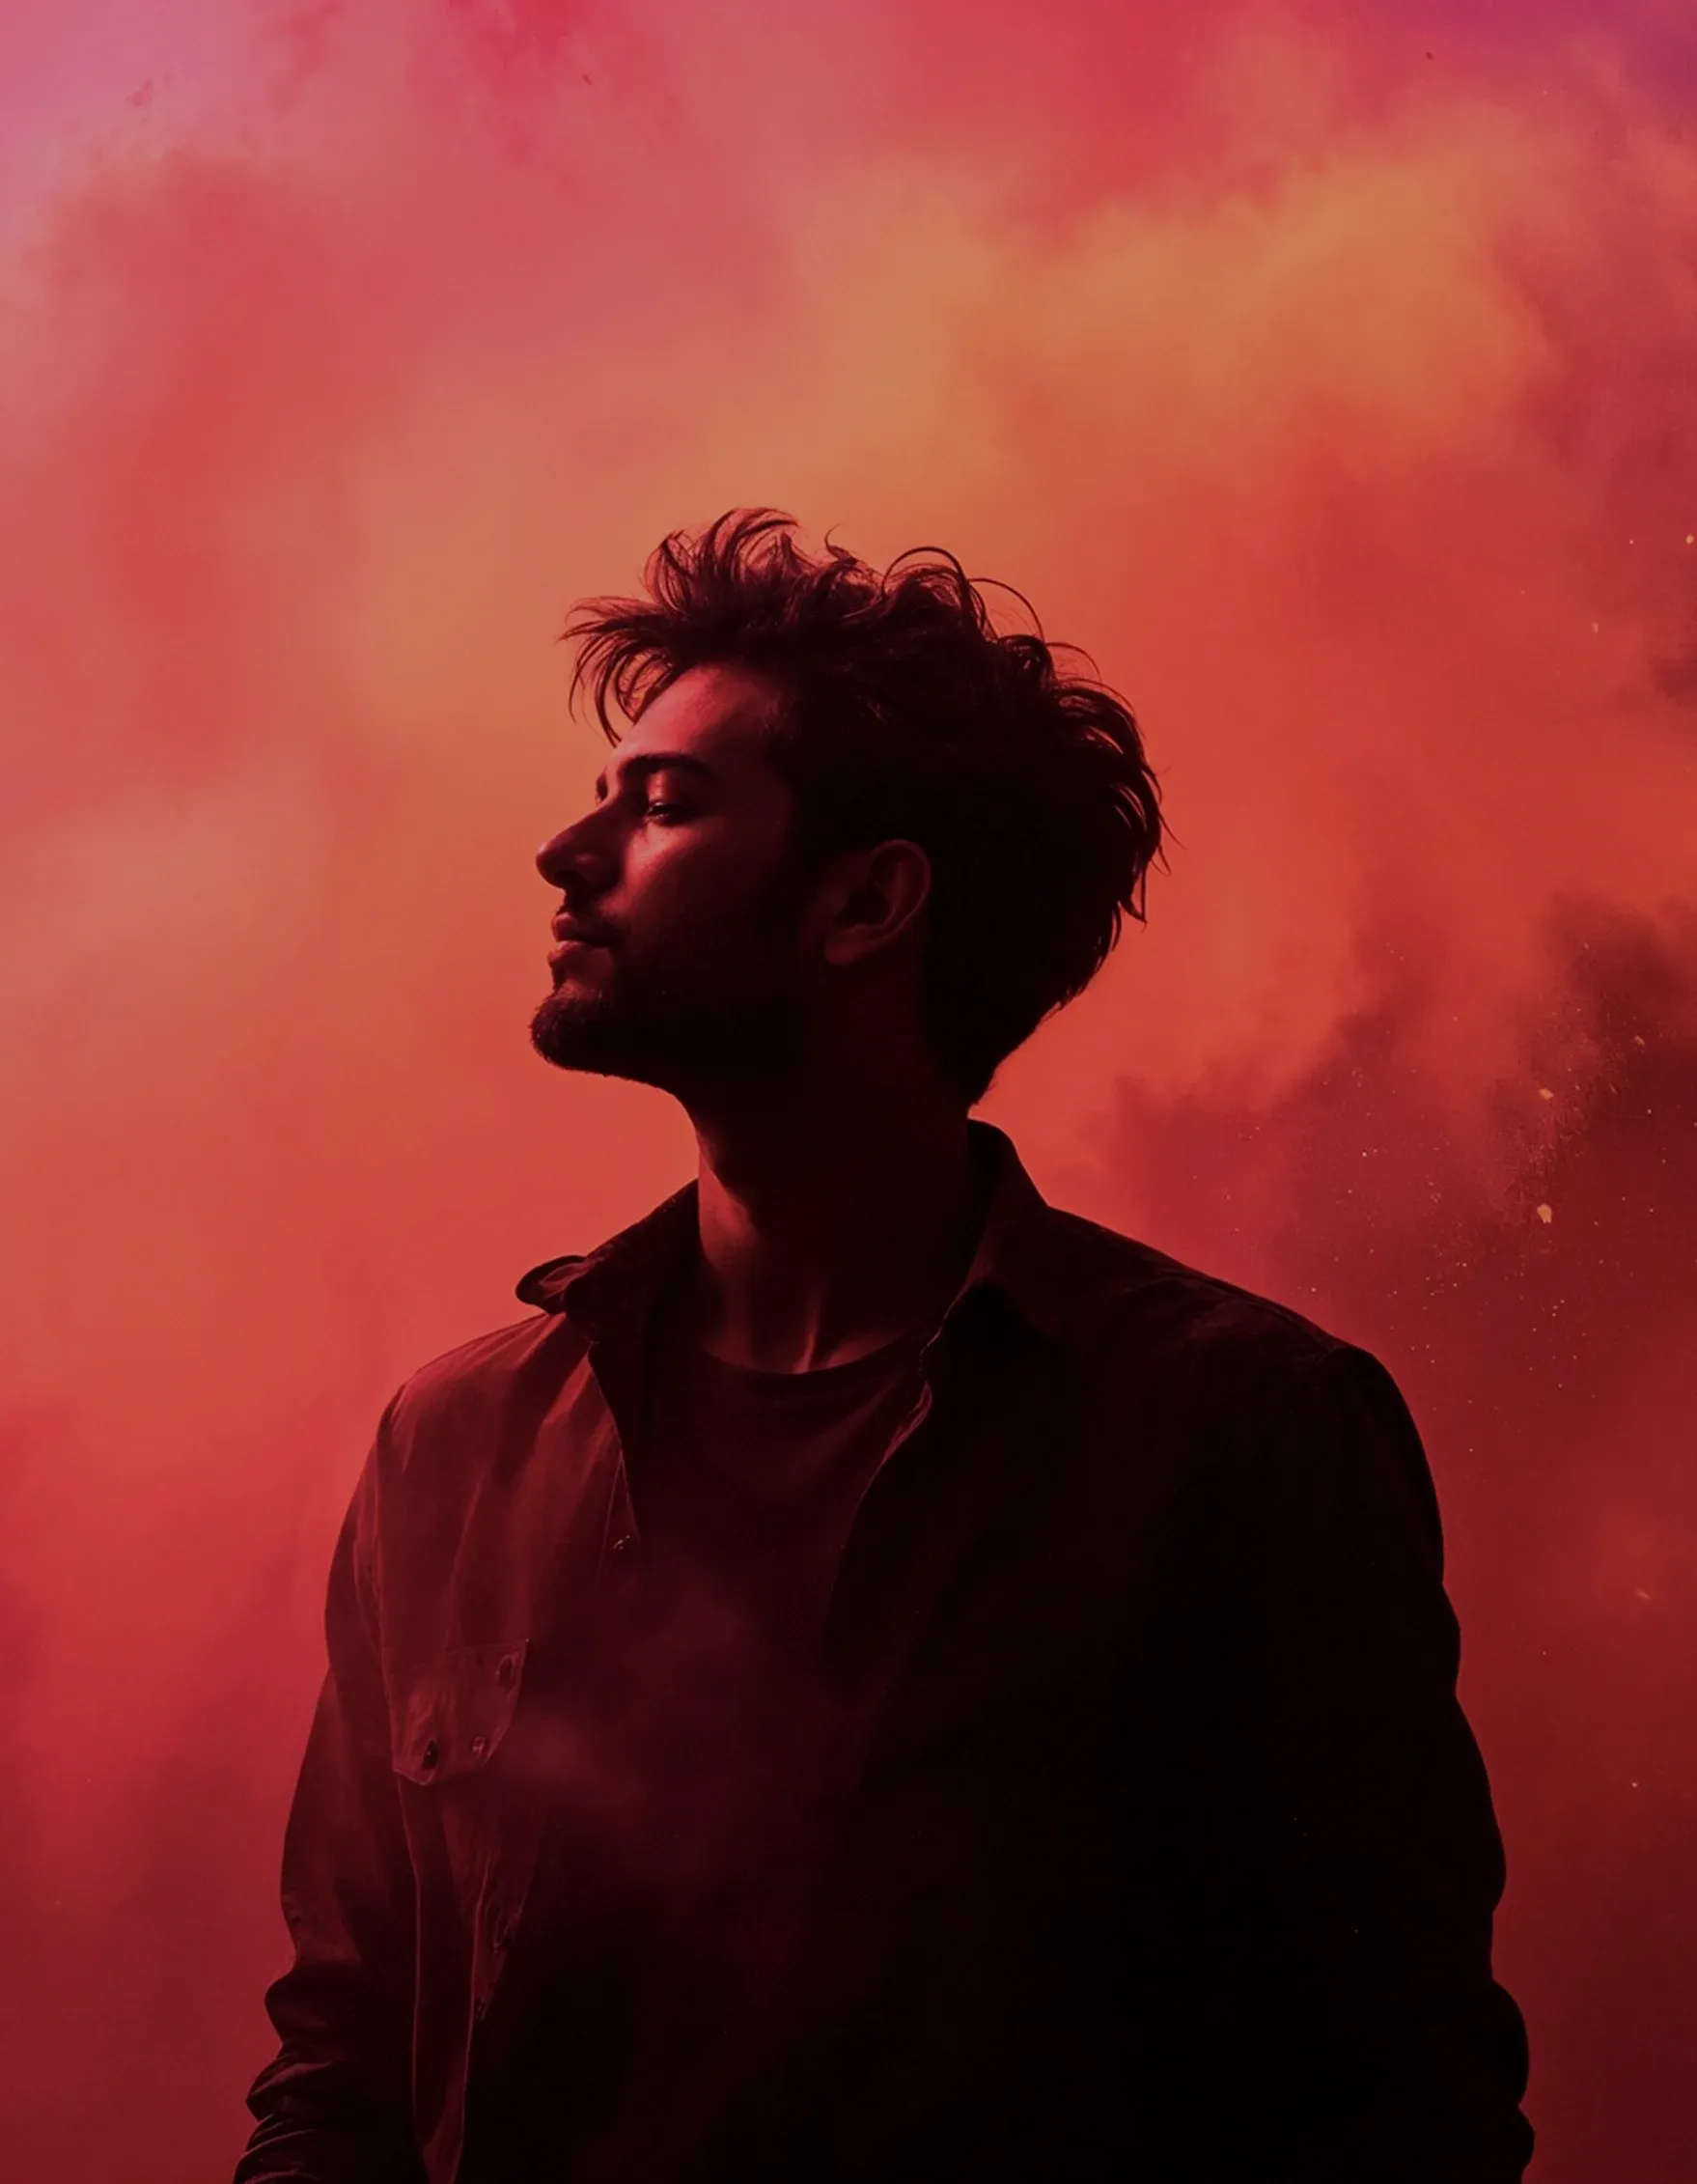
Most portrait problems are position problems. Before adjusting anything on the camera, walk a slow circle around your subject and watch what the light does to their face. Front light flattens. Side light carves. Backlight separates them from everything behind them and turns loose hair into a rim of white.
None of these is correct. Each answers a different question about who the person in front of you is.
Quality Is a Function of Size
A light source feels soft when it is large relative to the subject. On an overcast day the source is the entire sky, so shadows dissolve and skin renders evenly. On a clear afternoon the sun is effectively a point, and it produces edges hard enough to cut with.
A north-facing window is the most reliable portrait light in existence for exactly this reason: it is a large, indirect source that changes slowly.
Work With Colour, Not Against It
Daylight shifts through the day — cool and blue at dawn, neutral at midday, amber for the half hour before sunset. Correcting all of that to a clinical neutral throws away the one thing that told the viewer when the picture was made.
“Stop asking whether the light is good. Ask what this light is good for.”
Closing Thoughts
Mastering natural light is not about waiting for a golden hour that arrives twice a day. It is about recognising, within a few seconds of walking into a room, what the available light will do to a face — and then placing your subject accordingly. Do that consistently and you will need far less equipment than you think.